How to Create Database on WampServer with Win10
Wamp Server is software that helps in setting up a web development interface on Windows Operating System(so).
This guide shows tips and tricks on How to Create a Database on Windows Using WampServer, How to Create a User Account and Password on WAMP Server, How to Install and Set Up WampServer, How to Grant full access to Database In PhpMyAdmin, and How to Add New Account with full Access to Database.
How to create and manage a database on WampServer?
1. First and foremost before creating a Database download and install WampServer
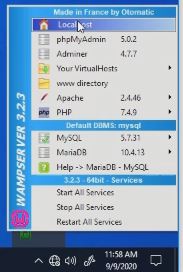
2. Click on the “Wampserver icon” from the “Task Bar” to open the “WampServer Manager tool”

3. After clicking the “localhost button”
4. Click on phpMyAdmin to lunched PhpMyAdmin Dashboard
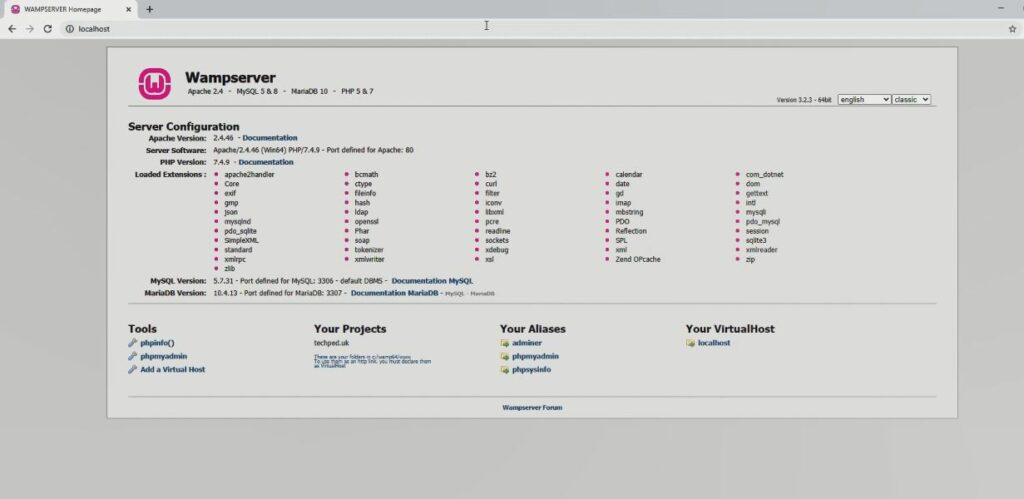
5 Type “username” and “password” you click to go

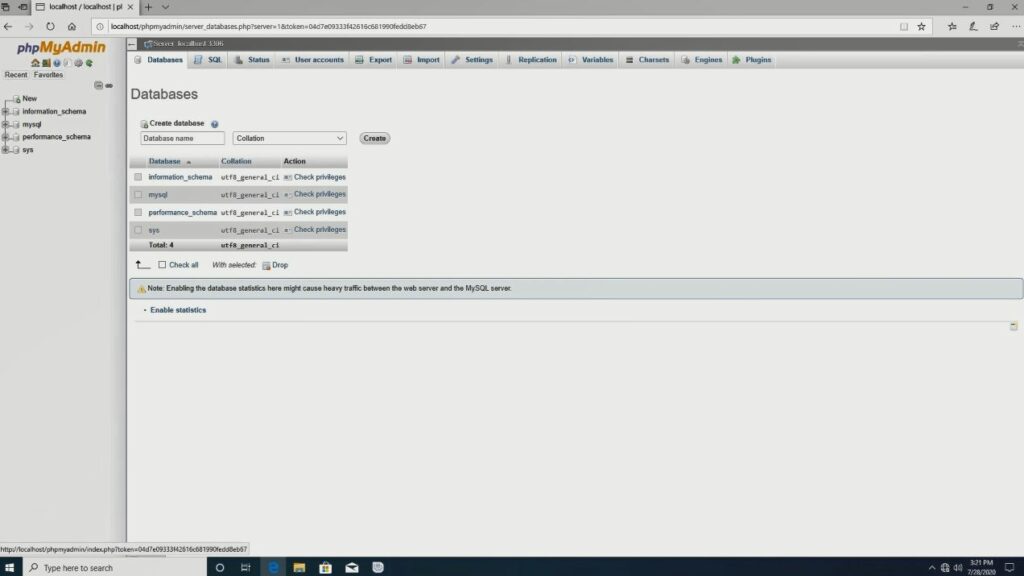
6. Click on the database tab on top of the interface and create a database.
How to Create User Account and Password on WAMP Server
For a User to get access to a Database(db) an account and password should be created to authenticate access to the Data. This guide will show you how to create user accounts and password in PhpMyAdmin for WampServer on localhost.
Note:
By Default phpMyAdmin username and password. If you’re having trouble logging into a new install of phpMyAdmin on a computer, then simply use the following username and password:
• user: root
• password: *blank*
How to Grant full access to Database In PhpMyAdmin
Here are steps to follow on how to grant full access control of a database in my PhpMyAdmin. If you are not abreast with the procedure make sure to read and get started.
Firstly, to start you need to install a webserver on your local machine.
How do I give access to a database in phpMyAdmin?
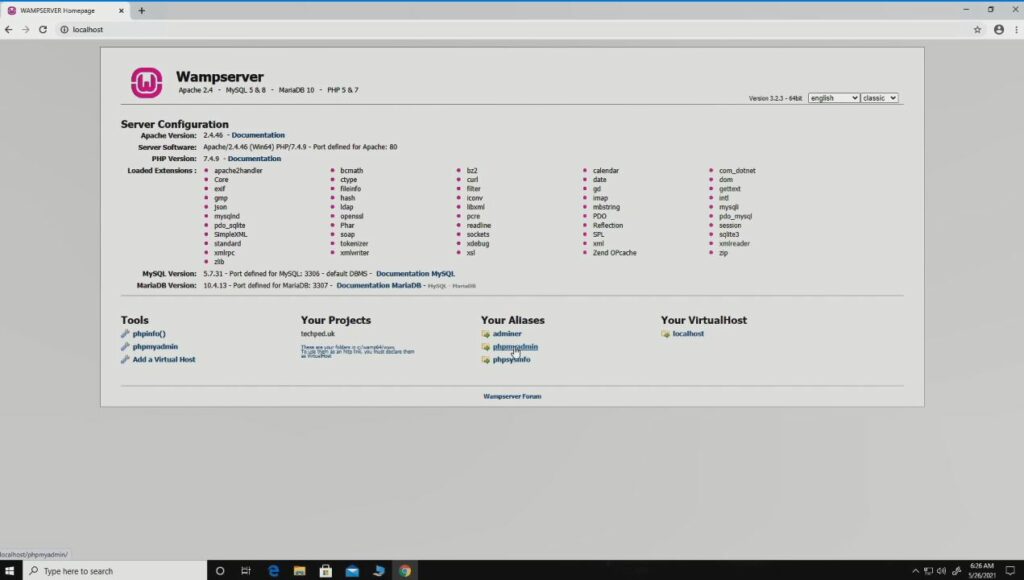
1. Click on google chrome then on the address bar type localhost,
2. After that you click on PhpMyAdmin, and login to the database by typing the “username” and “password”
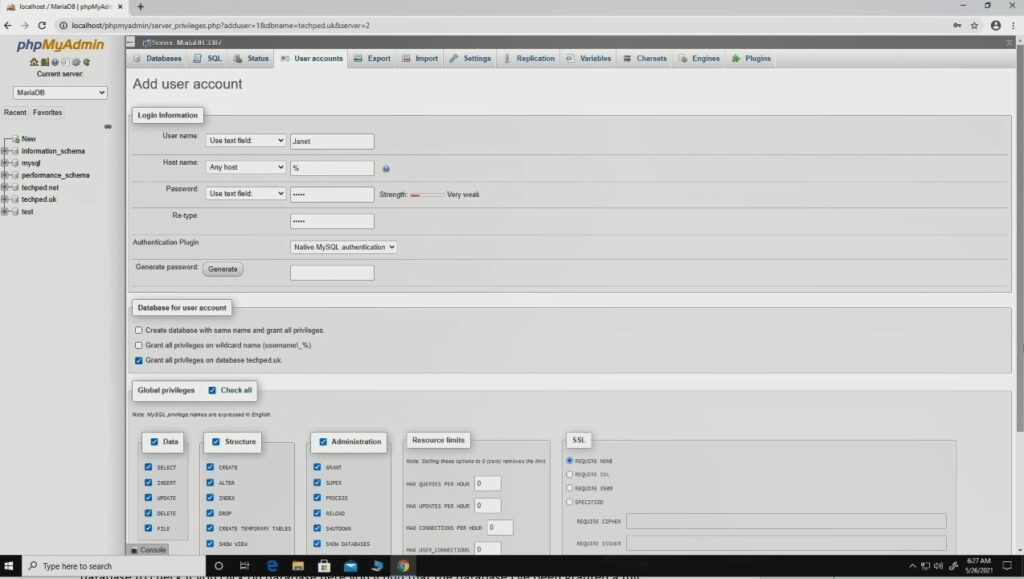
3. Choose the “database” that you want to give full access to, then click check privileges after clicking check “privilege ” you add a “user” who will be given access to the “database” to have full control of the database.
Watch the Video
How to Install and Set Up WampServer
1. Click on chrome Browser then you type “localhost”
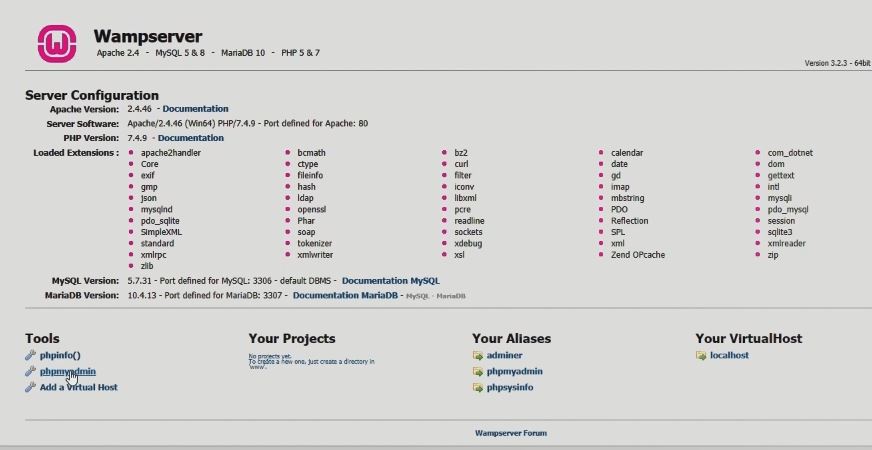
2. Click on “PhpMyAdmin” to log into “PhpMyAdmin dashboard” by default when install WampServer user: root password Blank,

How do I change my phpMyAdmin username and password in WAMP server?
3. Login to “PhpMyAdmin” with “Username: and “Password”, create user accounts and password at the root user
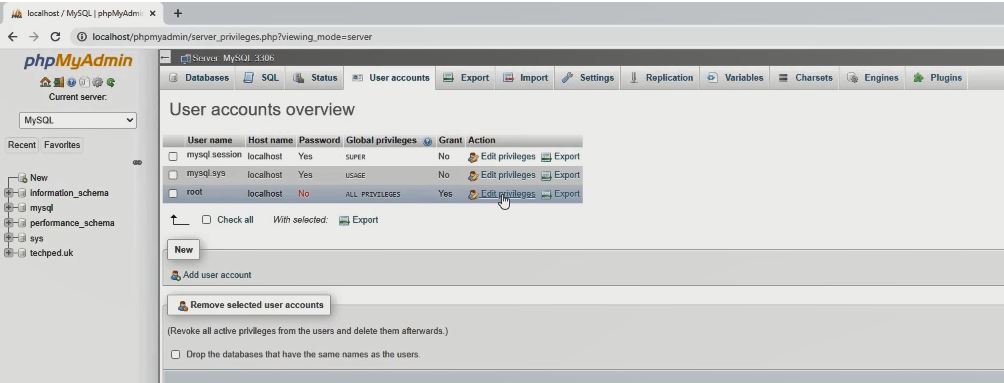
4. Click on “Edit” to give privilege or Click on New to Add user and password .
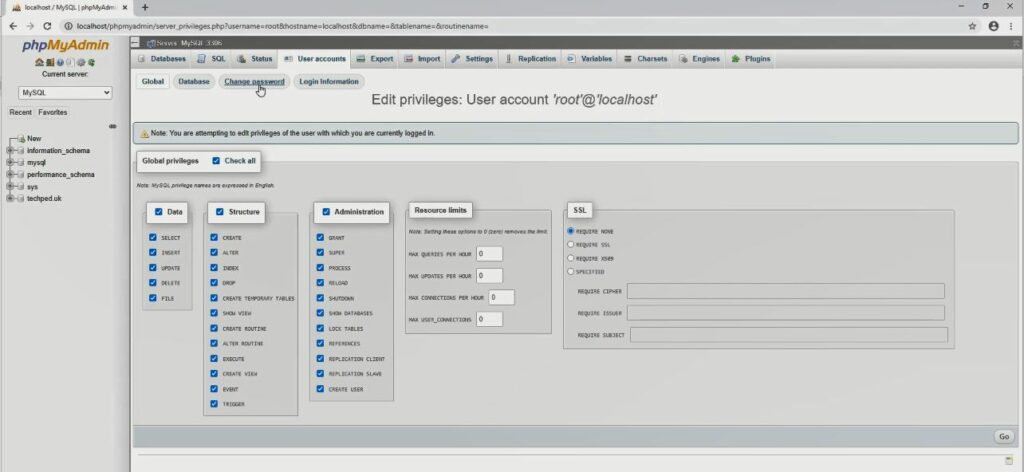
5. To add user fill in Username and password and grant full to database

How to Add New Account with full Access to Database
Learn how to add new user accounts and grant database access to the user using PhpMyAdmin so to start you need to make sure that you have a web server installed on your machine or on your local machine. Watch the Video
Watch this Video Below to Lean Step by By Step Process
Also, you can Installing WordPress on WampServer you Download Wampserver and Install on your Computer, and to know the process when you Start-up your local webserver read on: Configuration Process of WAMP Server and learn more when your start the wampsarever the error manages pop and how to solve read on how to Fix an Issue of Apache not Working.
Conclusion
Now, you must have an idea of How to Create a Database Using WampServer On Windows 10. Ask your questions in the comments below. Try to follow us on Facebook, Instagram , and Twitter. Also if the post has helped you Kindly subscribe to our YouTube channel to continue learning.
More Video

